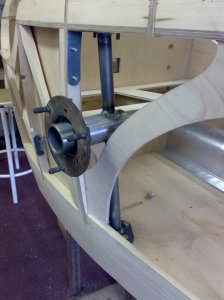
For instance, where was the spare wheel going to go? I decided on the driver’s side because the exhaust was going to run down the passenger side. It needed a bit of thought and as there isn’t a great deal of room in the cockpit, whatever I cam up with had to be simple and tidy.
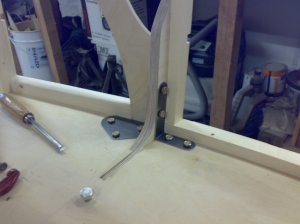
The first thing was to make sure the bulkhead wasn’t going to move so these are the lower brackets. Then I made the top forward bracket in one piece to make sure the loads carried through and down the mounting tube.
Finally, the tube for the mounting of the hub was positioned.
And the lot tacked in situ. The hub was pinned to the cross tube so I could remove it to do the skinning (thinking ahead!)
I continued to wire up the instruments.
More anon.


I would be interested to see a picture of the finished car. I would also like to learn how you treated the plyboard skin and what sort of finish you achieved with it. Does it look like painted wood, like a boat, or more like metal?
Regards,
James
Hello James,
I’m sorry not to have finished the story of the Austin but the Hillman is taking up my time at the moment. The plywood is treated with 5 coats of a clear paint of the type used to protect brickwork. It seems to be OK and doesn’t discolour the wood like a varnish would in time. It doesn’t look like painted wood, just natural plywood with a slight sheen.
Hope this helps.